How to use whitelist?
This article will guide you how to use IP whitelist. In the tutorial of
[ Username:Password ], you can see various configurations applied to the proxy through the proxy string. The feature of IP whitelist simplifies this process by allowing you to preserve proxy session settings and link them to specific IP addresses.
Essentially, the functionality of whitelist enables you to build preset configurations and associate them with IPs. Therefore, this removes the need for authentication credentials, allowing you to connect directly to the proxy using only the HOST:PORT format.
Using whitelist to manage IPs enhances the convenience of access while maintaining the security and specificity of proxy settings. Compared with the common [ Username:Password ], whitelist has multiple advantages: enhanced security, improved access control, prevention of abuse, and easier expansion.
Next, let’s learn how to use whitelist together!
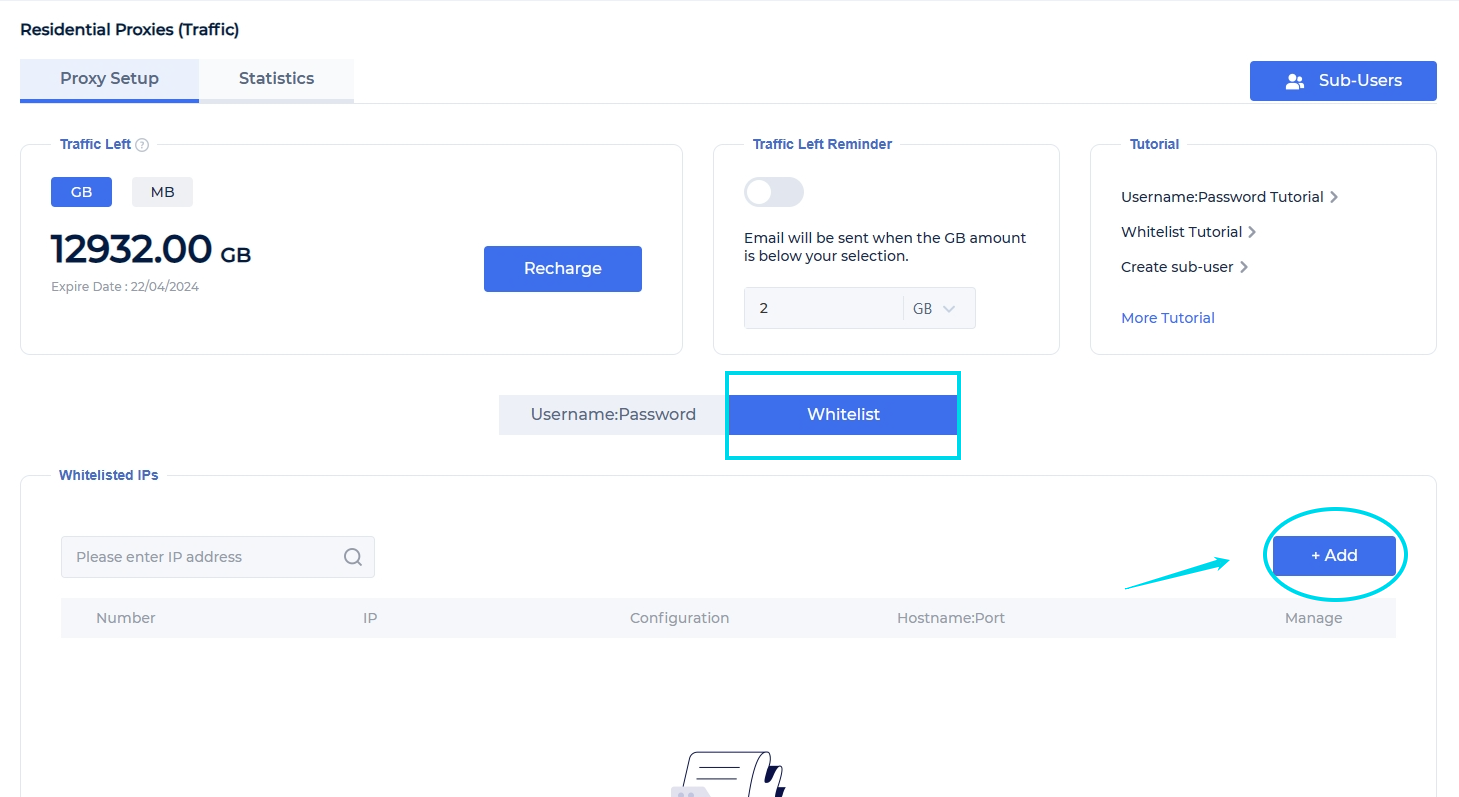
Step 1 Click "+Add" to create a whitelist
You can manage whitelisted IPs in the [Whitelist] tab next to [Username: Password] on the Residential Proxy > Proxy Setup page. To add a new whitelisted IP, click the "+ Add" button on the right.
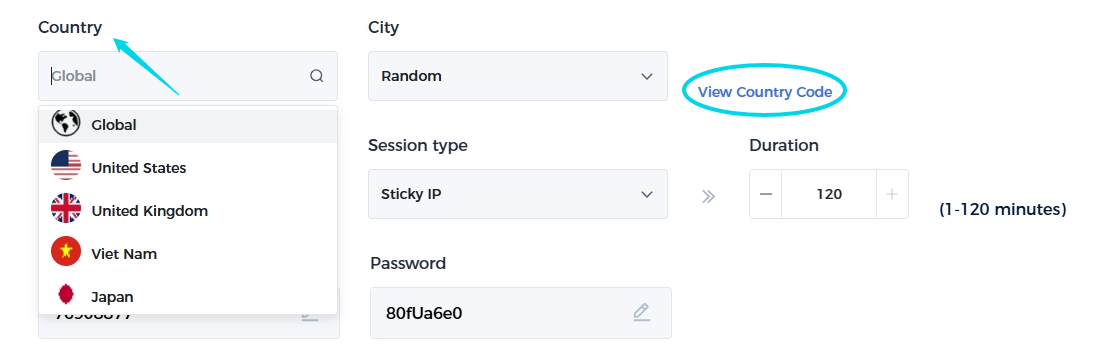
Step 2 Select proxy location
Here you can choose a random IP location, or you can search and select a precise country. Click View Country Code on the right to retrieve the corresponding country code.
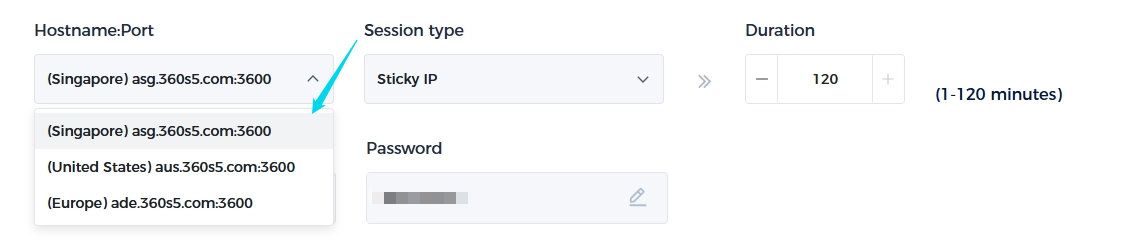
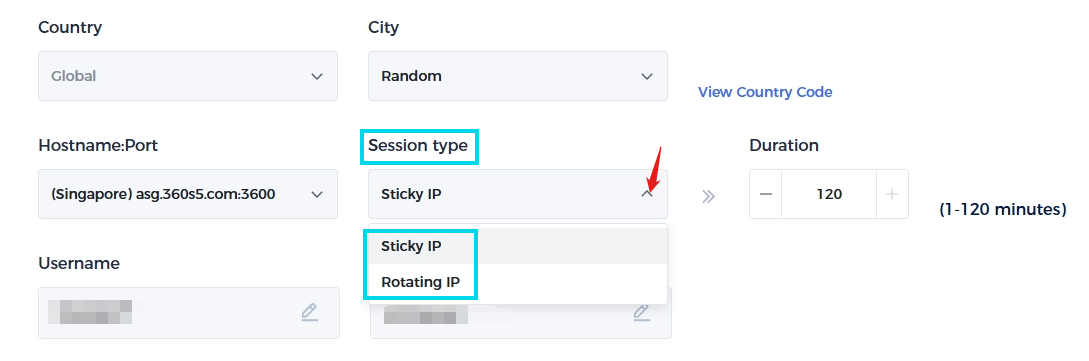
Step 3 Select host, port and session type
Here, you can choose a hostname port in Singapore, the United States, or Europe.
In the session type, you can choose [Sticky IP] and [Rotating IP]. When you select Sticky IP, you can set the usage time of the IP, ranging from 1 minute to 120 minutes. When you select a Rotating IP, you will get a new IP address with each request, and you will also get a new IP address randomly when the IP expires.
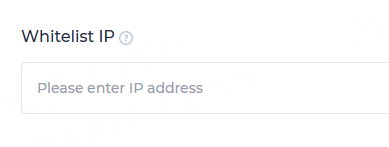
Step 4 Add whitelist IP address
When adding an IP address, make sure it is an IP that only you can access, and only add IPs in IPv4 format (xx.xx.xx.xx). Confirm the above information and click Save.
You can edit the whitelist IP information by clicking the "Edit" button. To delete a whitelisted IP, click the "Delete" button to the right of the whitelisted IP address.

The above is all about the whitelist. If you still have questions or want to seek help, please contact us via official email. We will do our best to solve your problem! Email: [email protected]


 Dashboard
 Sign Out


 Username: Password
 Whitelist IP
 Proxy Manager
 Google Chrome Extension


 USA
USA France
 Brazil
 Vietnam
 Spain
Spain


